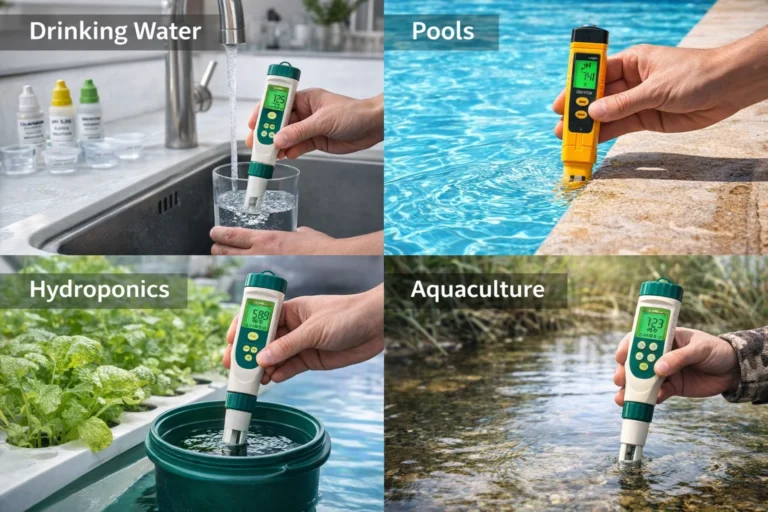
Accurate pH measurement depends on one critical step: correct calibration.
Even the best pH meter will give unreliable results if it is not calibrated properly — or not calibrated often enough.
This guide explains how to calibrate a pH meter correctly, why calibration matters, and the most common mistakes that lead to inaccurate readings and premature probe failure.
Why pH Calibration Matters
A pH probe does not measure pH directly. It measures a small electrical voltage that changes with acidity or alkalinity. Over time, that signal drifts due to:
- Normal electrode ageing
- Contamination of the glass bulb
- Temperature changes
- Dry or incorrectly stored probes
Calibration aligns the probe’s output back to known reference points so the meter can calculate the correct pH value.
Without calibration, readings may appear stable — but still be wrong.
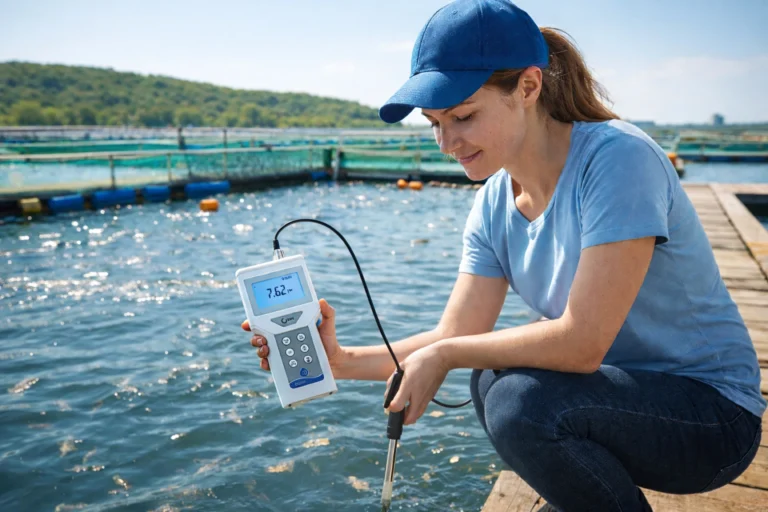
How Often Should You Calibrate a pH Meter?
As a general guide:
- Daily or before use – critical or regulated applications
- Weekly – routine field or process measurements
- Monthly – occasional or non-critical use
If accuracy matters, calibrate more often. Calibration is quick; incorrect measurements are costly.
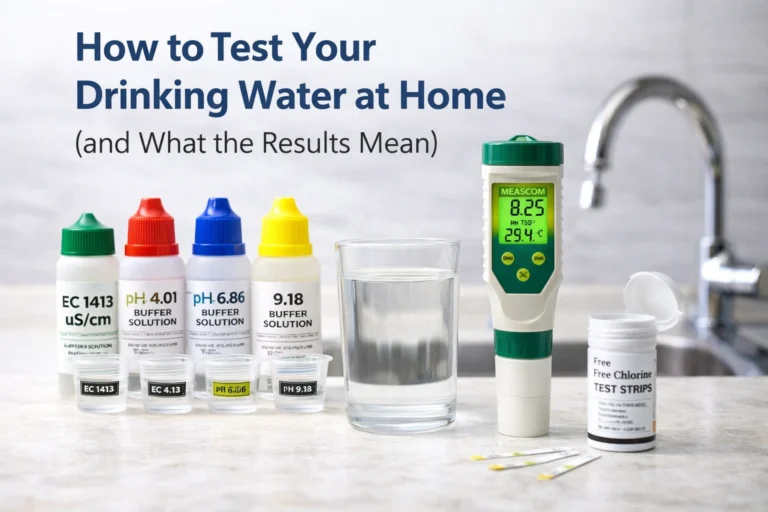
What You Need Before You Start
To calibrate a pH meter correctly, you’ll need:
- Fresh pH buffer solutionsz;
- NIST standard ph 4.01, 7.00 and 10.01
- DIN standard: ph 4.01, 6.86 and 9.18
- Clean rinse water (preferably deionised)
- A clean container or cup for each buffer
- A properly stored pH probe (kept in KCl solution, not water)
⚠️ Never pour used buffer back into the bottle. Always decant a small amount.
Step-by-Step: How to Calibrate a pH Meter Correctly
1. Rinse the probe
Rinse the probe gently with clean water to remove any residue. Shake off excess water — do not wipe the glass bulb.
2. Calibrate at or close to neutral point
- If using NIST buffers: Place the probe into pH 7.00 buffer.
- If using DIN buffers: Place the probe into pH 6.86 buffer.
Wait for the reading to stabilise, then confirm or save the calibration point according to your meter’s instructions.
This is the neutral reference and should always be your first calibration point.
3. Rinse again
Remove the probe, rinse thoroughly, and shake off excess water.
4. Calibrate the second point
Choose the buffer closest to your working range:
- pH 4.01 for acidic measurements
- pH 10.01 or pH 9.18 for alkaline measurements
Allow the reading to stabilise and confirm the calibration.
5. Final rinse and storage
After calibration, rinse the probe and either:
- Proceed with measurement, or
- Store the probe with the bulb immersed in KCl storage solution
Never store a pH probe dry or in deionised water.
Common pH Calibration Mistakes (and How to Avoid Them)
❌ Using old or contaminated buffers
Buffers absorb contaminants over time. Always use fresh buffer and replace bottles regularly.
❌ Skipping pH 7
Always calibrate pH 7 first. Skipping it leads to unstable slope calibration.
❌ Wiping the probe
Wiping creates static charge and damages the glass membrane. Rinse and shake only.
❌ Storing probes in water
This is one of the fastest ways to permanently damage a pH probe. Always use KCl storage solution.
How to Tell When a pH Probe Needs Replacing
Calibration can’t fix everything. Signs a probe is at end of life include:
- Slow response time
- Difficulty calibrating
- Drifting readings after calibration
Most pH probes are consumables. Even with good care, they eventually need replacement.
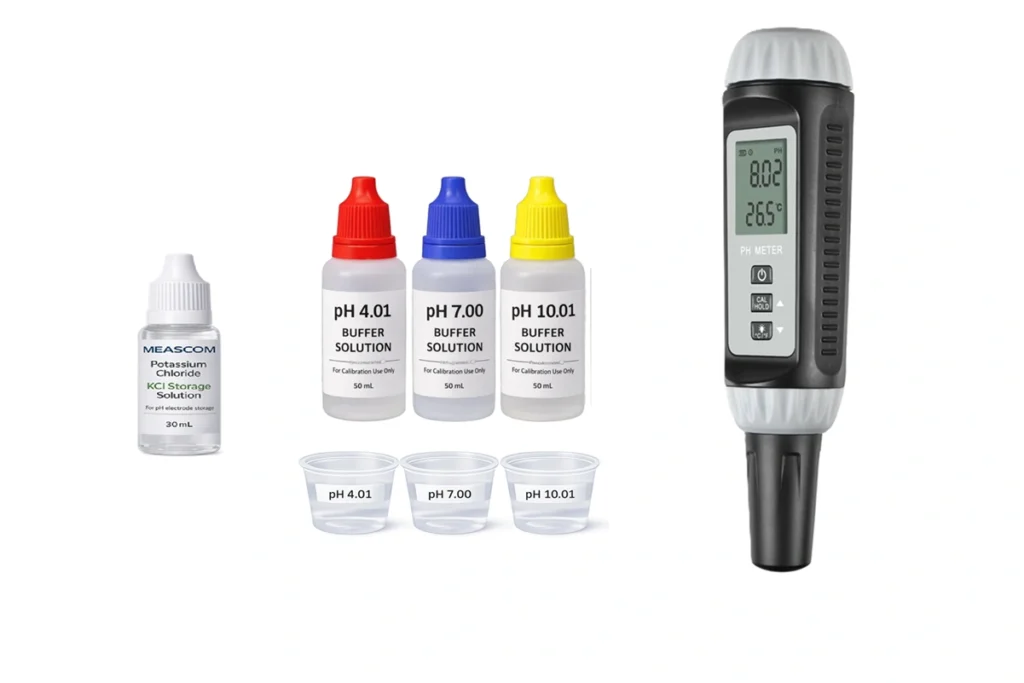
You can buy a new pH meter with kCL and buffers here:
Final Thoughts
Correct pH calibration is simple, fast, and essential.
Using fresh buffers, calibrating regularly, and storing probes correctly will dramatically improve accuracy and extend probe life.
If your measurements matter, calibration isn’t optional — it’s part of measuring with confidence.